Pages

Showing posts with label Wall Decor. Show all posts

Hand Painted Wooden Sign Decor

Wednesday, May 8, 2013

HELLO HELLO! My goodness, it's been ages since I've hung out at my blog! The last time I blogged was in December! I miss the days when I used to blog about everything I did.. I've gotten a bit lazy I guess. Well guess what?! I was feeling crafty last weekend and went browsing through my Decor board on Pinterest to see if there was anything pretty I could make. I found this pretty hand painted wooden sign that I'd pinned forever ago and decided since I had a piece of scrap wood I'd give it a try! 

And here it is!
Didn't it turn out lovely?!


I decided to put it up on a small wall to the side of our couch, right next to the balcony doors. I was never sure about what to put in that spot, or if I should put anything there at all.. in case it looked too crowed with having my photo wall above my couch. But that's where I put it up! Along with a cutie little vintage bicycle decor piece that I got from my Grampa (I begged him for it), who got it from my mom a few years ago haha! I always wanted to put the little bicycle up somewhere but I'm just not creative when it comes to adding wall decor in an attractive way. I take waaaaay too long thinking about stuff first, and then I just get tired thinking so I forget about it!


I think it looks GREAT! I'm in love with it! And I can't stop looking at it whenever I come into my living room. It makes me smile and say, "Awwwee..."

As difficult as it was to get a hold of my husband's attention while he was grossly and intensely watching his favorite hockey team play in the playoffs, I was able to get him to hang my new decorations up on commercial breaks! ...


Check out those sunburns!

Now, I didn't take any photos during the creation, because I didn't think about blogging! But it was pretty easy. First, to get the stained look, I watered down some brown acrylic craft paint with water and covered the board a couple of times till it was a shade I liked. When dry, I began on the words. I drew my words on a piece of paper while looking at the pinned inspiration photo for a guide. I did "Love" first and when I had it all drawn up how I wanted it, I took a piece of chalk and rubbed the back of the paper all over where the word was. Then I gently placed the paper where I wanted it on the piece of wood, with the chalked side facing down onto the wood. Taking a pen, I traced over the letters. When I lifted the paper off, the word was drawn onto the wood with the chalk!! Super easy for transferring! So then I just filled it all in with craft paint! (I'm in love with that color these days!) And I just repeated that same process with the rest of the words on the sign. The rest was a little tougher for me though, because I can't seem to write nicely.. After that was all finished and dried I covered the whole board with a clear varathane finish. That's it! 

Feels nice to share something on my blog again! : )

DIY Cork Board and Thumb Tacks: Craft Room

Wednesday, September 28, 2011

I've been turning our spare bedroom into a little craft station for myself. .. Right now it's a mess! That's my "stash everything in here" room! haha! Anyway, when I have it more set up how I want, I'll do more posts about it :) For now I'm just going to show you my pretty corkboard I put together for my wall. 

I found this big wooden frame at my thrift store for $2. 


The backing looks like cork but it's not. So I had to buy some sheets of cork, which I found for $2 for a pack of 2 squares at the dollar store! I picked up two packs since one wouldn't be enough. 

I just hot glued the cork right to the frame backing. You can see how it hangs over the side.. so I used my little exacto knife to cut the edges off.

To cover up the obvious lines I bought a fat quarter of fabric at Walmart and glued the sides down to the back of the backing. I guess I didn't take a photo of this part, but you can just imagine this process :) Pretty simple and easy. I wanted fabric that wouldn't stand out and be distracting from the pretty blue that I painted  my frame, so I picked some out that look super close to the color of cork. Here's an up close look at the fabric. You'd think it was cork from seeing it father away, which is what I was going for.


And here's my new pretty corkboard! 


I just used a plain ole bottle of acrylic craft paint and painted about 3 layers on. Then painted a couple layers of a clear coating. 
 Ready for more F.U.N ?! 
I made my own cute thumb tacks too! 

I took all these little odds and end..
{buttons, tiny crochet flowers, fabric covered button,
and a glass marble that I mod podge to some fabric} and hot glued them to some plain thumb tacks I had.


cute, cute, cute! Right?!


I'm throwing my sister a baby shower when we go home to California for Christmas! 
{by the way, my sister finds out today if it's a boy or girl! eek!)


It's super nice having my own little area for all my craft stuff! Usually it's ALL OVER the apartment! I'm definitely going to be working on this little area {I call it my craft station}, so there will be more posts to come!

p.s... today has been the most beautiful fall day!
... again with the romantic-y dreamy mood.. 

Framing my necklaces

Saturday, May 28, 2011

I used to never wear much jewelry before, except for earrings. Without earrings on I feel naked and not completely put together. Necklaces are something I enjoy more so now. I find them here and there, thrift stores, dollar store (hehe I know..) My collection seems to be growing, which I like! So now I need a place to put them all and preferably create a pretty display too! 
I Picked up a huge cheap frame the other day at, none other than, the thrift store. It was just a the wooden frame part and for a buck. Cool. I can find something to do with that. It's kind of a plain boring frame though, but oh well. So I sanded all the stain color away and painted it a nice yellowish color {I'm really into the mustard yellowish color lately}. I used some little cup hooks that I found at Walmart. I had Hubs handle the drill and hooks.. I just like to watch the drill part ;) I adorned a corner of the frame with some fancy schmancy fabric rosettes. 

I rather like it :) 


I was thinking about making this up and just selling it.. that would be kind of fun, picking up cheap frames and turning them into jewelry holders to sell :) But I think I might just keep this one for me. 

 Say "cheese" Hubs :)

I'd kind of like to pretty up a frame for some of my earrings, but I already have something for my organizing my earrings and I actually really like it.. even though they aren't out on display. You can see what I use for my earrings here

Oh, and this little guy will soon be hanging up with the rest of my necklaces :) 
I bought him on ebay the other night! {.99 cents!} Such a cutie. I'm falling for little owls lately.


Wall Collage part 2 FINISHED!!

Friday, April 8, 2011

Yes that's right! I have been diligently working away at my wall collage over here. All other projects and fun things, such as crocheting, have been on total pause. I was determined not to take a break from this wall collage and move onto something else. I'm SO excited to share my wall collage project now! 

Here's everything! 
{See part 1 of wall collage here}

As you can see, I finally came to a decision on what color I would paint my frames! 
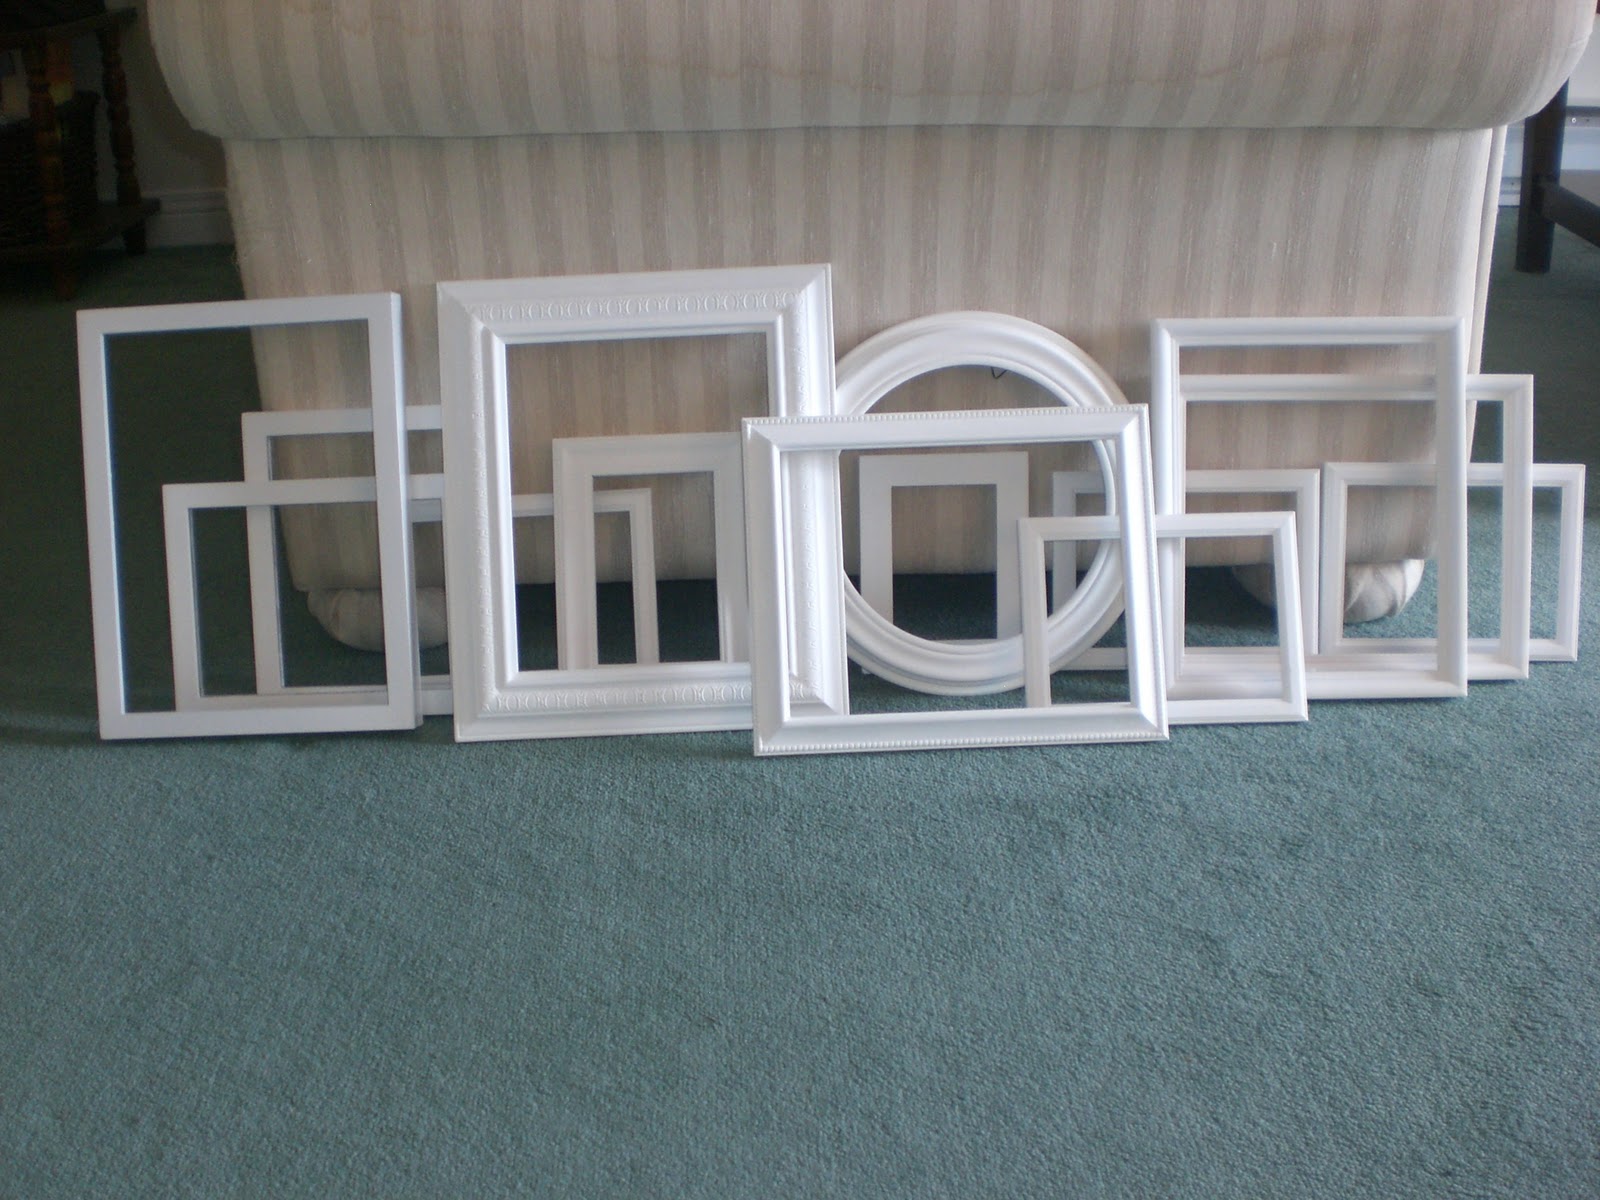
And here are all 14 of them painted.


Each frame got a little bit of sanding down, and painted with acrylic craft paint. I did have some white Krylon spray paint, but it was definitely too cold for spraying out on the balcony.. I did try it inside though! haha! Shhhh, don't tell! {I have a big old gross blanket thing that I pinned up in our storage room/closet and and did a little bit of spraying, but it did NOT turn out nice at all! I don't like that white spray paint. So using cheap dollar store sponge brushes with a large bottle of white acrylic paint was the way to go! And they turned out nice. It took SEVERAL coats to get complete coverage. I used a couple coats of polyurethane and the painting part was done! 

Then on to printing pictures and filling the frames. 
Walmart is where I print my photos. I had a few 8x10's of Hubby and me, and a really cute free print that I found on someone's blog, and I also made up a couple of my own prints on picnik. Those prints {the ones form blog and what I made} didn't print out the right color at Walmart. I was so bummed! So I asked the Hubs if he would let me buy some colored ink for our printer just for this project! They printed out in perfect color from our printer! 

I also framed fabric pieces. I already had a few of the things that I was going to frame, and just went out to purchase some mustard-ish yellow colored fabric. Walmart sells little fat quarters of fabric, and I had one already that I wanted to use, and I bought another one to fill a frame {I wanted something more black and white}. 

My round frame that I used is a little different, and it doesn't have a glass or backing. 
So this is what I did for it:
 my salad sized plate was an almost perfect fit inside the frame. so I traced it onto both sides of a pizza box and cut them out a little wider then the trace line. Taped the two together for a thicker stronger backing.
Found a bird shape online and traced it right from my computer screen to paper. Cut that out then pinned it onto white felt and cut out the design. Then I used heat and bond to secure the bird to my fabric.
Used thumb tacks to poke into the sides to hold down the cardboard since there was no backing or prongs to hold it down. 
{this is actually before all the above, I was just seeing what it would look like if I went with this idea}

And here are all my frames filled and awaiting their new home on the wall! 
I love the colors!


I forgot to take pictures of how I did big "M" monogram. I picked a font from my computer, enlarged the screen as big as I could get it and traced it right from my computer screen, lightly with a pencil of course. Then I filled it out with a pencil on my own to make it have volume and thickness and look normal, and then cut it out. Then I took a piece of black cardstock and traced that M onto it. Perfect! For the M frame I had to get another 8x10 frame just to use the glass as a backing- I wanted the M frame see through. The M fits tightly between the two pieces of glass. 


Last night I traced all my frames onto newspaper and wrote on papers which paper went to which frame. Then I turned over each frame, laid the newspaper on top of each frame and poked a whole through where the hanger was on the backs. This is for knowing where to put the nail in the wall when you put the newspapers on the wall. I arranged my newspapers on the wall, and did some arranging all night. At first I had the layout a little too bunched together, so I spread them out over the wall a little more. 

I have been SOOO nervous about actually getting everything on the wall! So Hubby put the nails in the wall for me, and I hung everything up! 

And now, here's is our new photo wall collage... 

... what we've all been waiting for.. 

.... what I have been working on for these past few weeks .... 

... hehe, here it is folks! .....


I couldn't stop squealing with happiness after seeing it all on the wall! It actually turned out as beautiful as I have imagined, and the plans that I made up on the word documents! Yes, I'm calling my own project beautiful.. I'm not boasting or being prideful, just so excited that I was able to put together something this nice looking for our home. Photos of the collage just don't do it justice. It looks so much nicer in person. And it doesn't look like a little pile of pictures on the wall in person either. Our living room is small.

I love it.

A Collage Wall part 1

Tuesday, March 22, 2011

Yes, I'm attempting my first real wall project since being in our apartment. These kinds of decisions always drive me crazy! Anyway, last week we got rid of this huge tv stand hutch thing that we've had since we first got married. I was SO excited to finally be getting rid of it! I had it listed on Kijiji for a couple months but no one wanted to buy it, and I kept reducing the price too! .. down to $15!! Still no takes! "THAT'S IT! I'm listing is as F-R-E-E!" ... what do you know, ten minutes after I post the add I get 6 emails of people wanting it. Oh brother.. who cares though, it's G-O-N-E! Okay, yes I'm getting to the point of my post. So with that huge jalopy gone we have more space and I've been able to rearrange my living room the way I want, which is so much fun.

Here's my wall I'm attempting the project on


Excuse the untidiness. I didn't feel like making it perfectly presentable for the picture. 
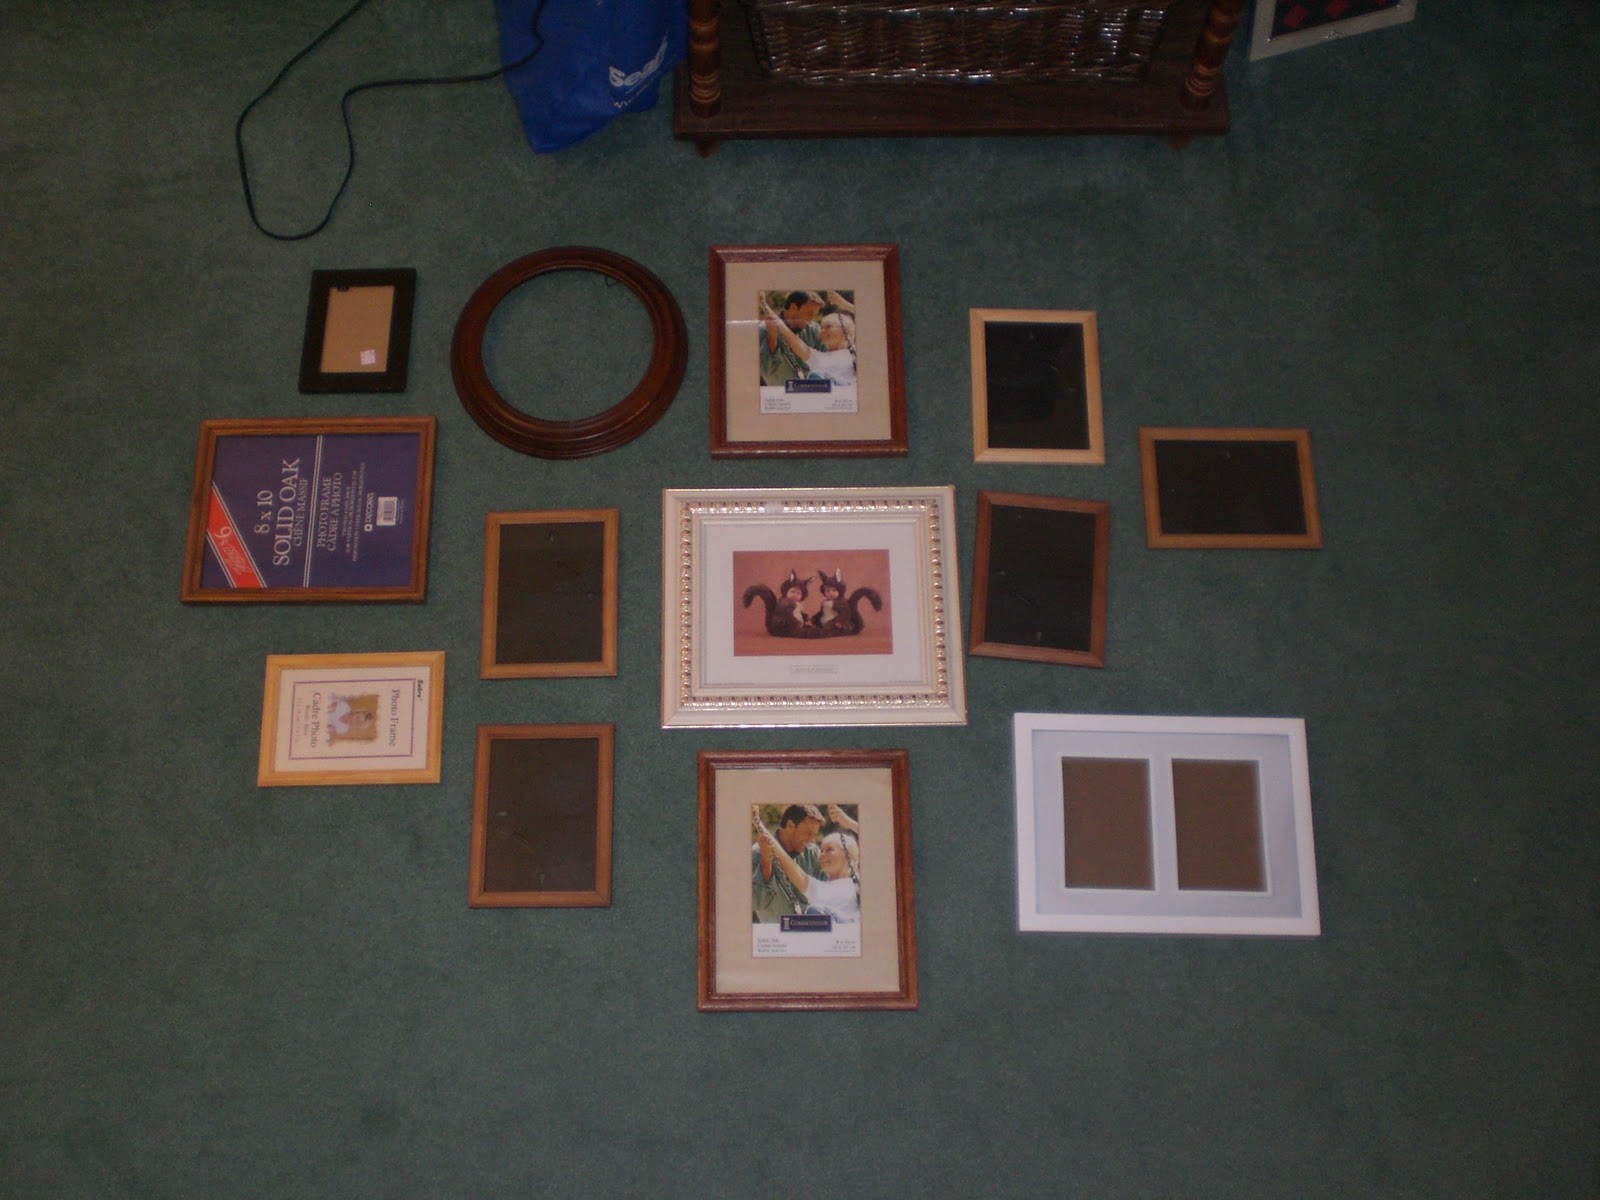
So this is my sad naked wall that needs some love. I have a collection of frames that I've been grouping on the floor in different arrangements, looking for one that jumps out to me. 

Here's the last grouping I tried, and I think I might actually like this one.


My frames are not as much of a variety as I was hoping for.. But awhile back I got this bag of like 12 frames (8x10's and 5x7's) for $5! And some others I found at thrift stores. They'll all be painted once I figure out what colors I want and such.. which is such a hard decision for me. Our living room is not exactly matching in any way. It's a bit of this and that. I think painting them all black might be a bit too .. dramatic or something. I want a lighter look, and I REALLY want some pretty colors. I plan to fill the frames with photos of the Hubby and me, pieces of attractive fabrics, and some other things that I'll have to think up. 

I'd really like some suggestions with this project, because I'm not that great with putting things on the walls. Putting things on the walls is the scariest and most intimidating thing for me!

I used a word document to open up my living room picture in, and I added shapes on the wall for the frame grouping. 


And here's another one.. 


This is pretty much the same layout, but I just added another 4x6 shape near the bottom in the space. The space made it look a bit off balance. I think. I'll have to go find another 4x6 frame if I go with this one. I guess this would be an oval layout? Right?

So what do YOU think?? How would this look on my wall? Would it be weird if I painted some of my frames white, since my walls are white? (not all the frames, just a few). Share some tips with me! I'd love to hear what anyone has to say for this project, cause.. I'm scared!!!

Chelley's Wall Decor

Monday, January 3, 2011

A friend of mine has been in a decorating mood lately with her new apartment, and today she was VERY busy at work to make a beautiful display of a couple of her favorite Bible verses. 

First, here is what inspired her


She saw this wall decor sign at Kohl's .. and THEN... the wheels started a'turnin'! She's been posting photos of her project progress all day and the suspense has really been driving me nuts!  

But finally, she finished her project and I think it's just too lovely not to share!


Picture frames, gorgeous scrapbook paper, printed out scripture verses, and ribbon! 


Just LOVELY!
And I'm sure she's quite proud of it! 

Here are the Bible verses in case you couldn't see them


"Delight thyself also in the LORD: and he shall give thee the desires of thine heart.

Commit thy way unto the LORD; trust also in him; and he shall bring it to pass."

Psalm 37:4-5 
Thanks for letting me share your project Chelley!!