Pages

Homemade Choclate Syrup

Monday, April 18, 2011

 Ugh, I despise the dying-of-hunger part of being sick.. When I get the flu I can never eat much at all for like 3 days and my poor tummy cries "feeeeeed meeee!" Any time I'm sick I always crave fast food hamburgers and fries! So that's what I got last night after hubby came home from work and I ate most of it :) But today nothing was just tasting good at all, so I didn't eat. Then I thought, "hmmm, I can usually eat ice cream any time.." We have vanilla ice cream, but vanilla is not my favorite and it's kind of too sweet. Hmmmm..

Solution to plain old vanilla ice cream when you're more of a chocolate person... 

Homemade chocolate syrup!!! 

Ingredients:

1/2 cup cocoa powder
1 cup water
1 cup sugar
1/8 teaspoon salt
1/2 teaspoon vanilla


Put all the ingredients expect for the vanilla into a pot and mix together.

Cook for about 8 minutes on medium heat.
Keep stirring the whole time.

 After 8 minutes, remove pot from heat and stir in the vanilla. 

Let the syrup cool off for a while.

Then you can pour it into a jar or other bottle .


 I used my Heinz chili sauce bottle that I had saved 
{I save all my glass jars and bottles- isn't it a neat one?}

Like my homemade funnel??
I cut the top of a 2 liter soda bottle a while back. Works fine!


 Then I put it in the fridge! 

... And came back later for an attempt at eating something for once today.

I drizzled some chocolate syrup over my plain ole vanilla ice cream!  
{It didn't seem to thicken up yet. Maybe it will the longer it's in the fridge}


But then I decided I'd rather make it a shake.. 


Y.U.M 

I ate it all! ... but then I felt kind of sick. 
It's time for this flu to leave the house.

Anyway, enjoy!

Free prints

Sunday, April 17, 2011

I've been down with the flu for the past few days.. I got it from my husband. That's the wonderful thing about being married- we're the first in line for each others sicknesses! So the past few days have been spent laying around the house, playing on the computer, or watching tv shows. Well, I feel like blogging about something.. so hmm... what could I post? ... 

I thought I'd offer the two prints I made on picnik for my wall collage. 
{If you haven't seen my wall collage, check it out here- I love it!}


I'm not too sure of exact sizes, but they're in between 4x6 and 5x7. 
When I printed them from our printer at home I just uploaded them into a Word document. 

Anyway, if you're interested.. I think you just have to click the pictures and save them to your computer. 
Hopefully they work out fine. 


Now back to my sniffles and coughs


Cake Balls

Friday, April 8, 2011

Oh. My. Goodness. Gracious!
For the first time ever I made cake balls. My husband's birthday is today, but we celebrated it yesterday since that was his day off. I've seen cake ball posts everywhere, and they are so cute, but I was never interested in making them. Then I ran across this post and was inspired!

How to make Cake Balls

Get a boxed cake mix 
I bought a spice cake mix, and I also made a chocolate cake, 
but from scratch.. since I had everything on hand for that anyway.


Mix & bake your cakes as normal
Bake in 9x13 pans. 
Let your cakes cool for a few hours. 
Then when cooled completely... 

Crumble the cakes up 
First, while the cake is still in the baking pan, start cutting the cake sides/edges away because we don't want any hard cake pieces. I ended up having to also cut away the top layer of my chocolate cake because it was a little hard.  


I cut them up in squares and put them in a bowl, and got another big bowl to crumble them up into. 
Just break them apart and make lots of little cake crumbles! Kinda fun ;) 

After your cake is crumbled...
Add 1/2 a container of cream cheese frosting
If you're making two cakes one is all you need! Perfect!


now roll up your sleeves, it's time to get messy!

Mix & mush it all together well
Yes, with your hands! It's great fun. 
 

Once all mixed... 

Scoop and roll into balls
You could use little ice cream scoops, but I just used my Table spoon measuring spoon. I scoop out a full scoop, then added some more. So maybe a table spoon and a half of another. But whatever you like!


Place cake balls onto a cookie sheet
You can use wax paper to place them.. I didn't have any. 
Put your cake balls in the freezer for a few minutes. What I did, was put about 6 or 7 cake balls on a sheet, place it in the freezer, and worked on another sheet of 6 or 7. 

Then...

Cover cake balls in melted chocolate 
I used white chocolate and milk chocolate melting wafers/moulding chocolates... 


.. and melted them by using my candle warmer! 
Much easier, I'm sure then using a double boiler on the stove top.
It's perfect.


Plop your firm-from-the-freezer cake ball into the melted chocolate and get it all covered. 
I found it easiest to use two forks (holding them as you would when tossing a salad) for lifting them out and holding them up to drain the excess chocolate off.


 Then place onto baking sheets. It would be best to use wax paper for this, because they do stick to the pan and when you try to lift them off the bottom tears off. So I put down some tin foil. At least they didn't stick and get ruined. *little tip: I was noticing that my cake balls were cracking after the chocolate was set on them. I think they were way too cold coming right from the freezer into the hot chocolate. So I started waiting several minutes after getting them from the freezer, and putting them into the chocolate.*

Add sprinkles or other candies
This part should be done when you plop your chocolate coated cake ball back onto the cookie sheet, when the chocolate is still wet. I used sprinkles for some of mine.

After finishing that baking sheet of 6 or 7 cake balls, I was putting them into the fridge. But then I checked online and I read that they don't need to stay in the fridge. An air tight container would be best, sitting out on your counter in a cool area. So that's what I did. 

Admire your work!


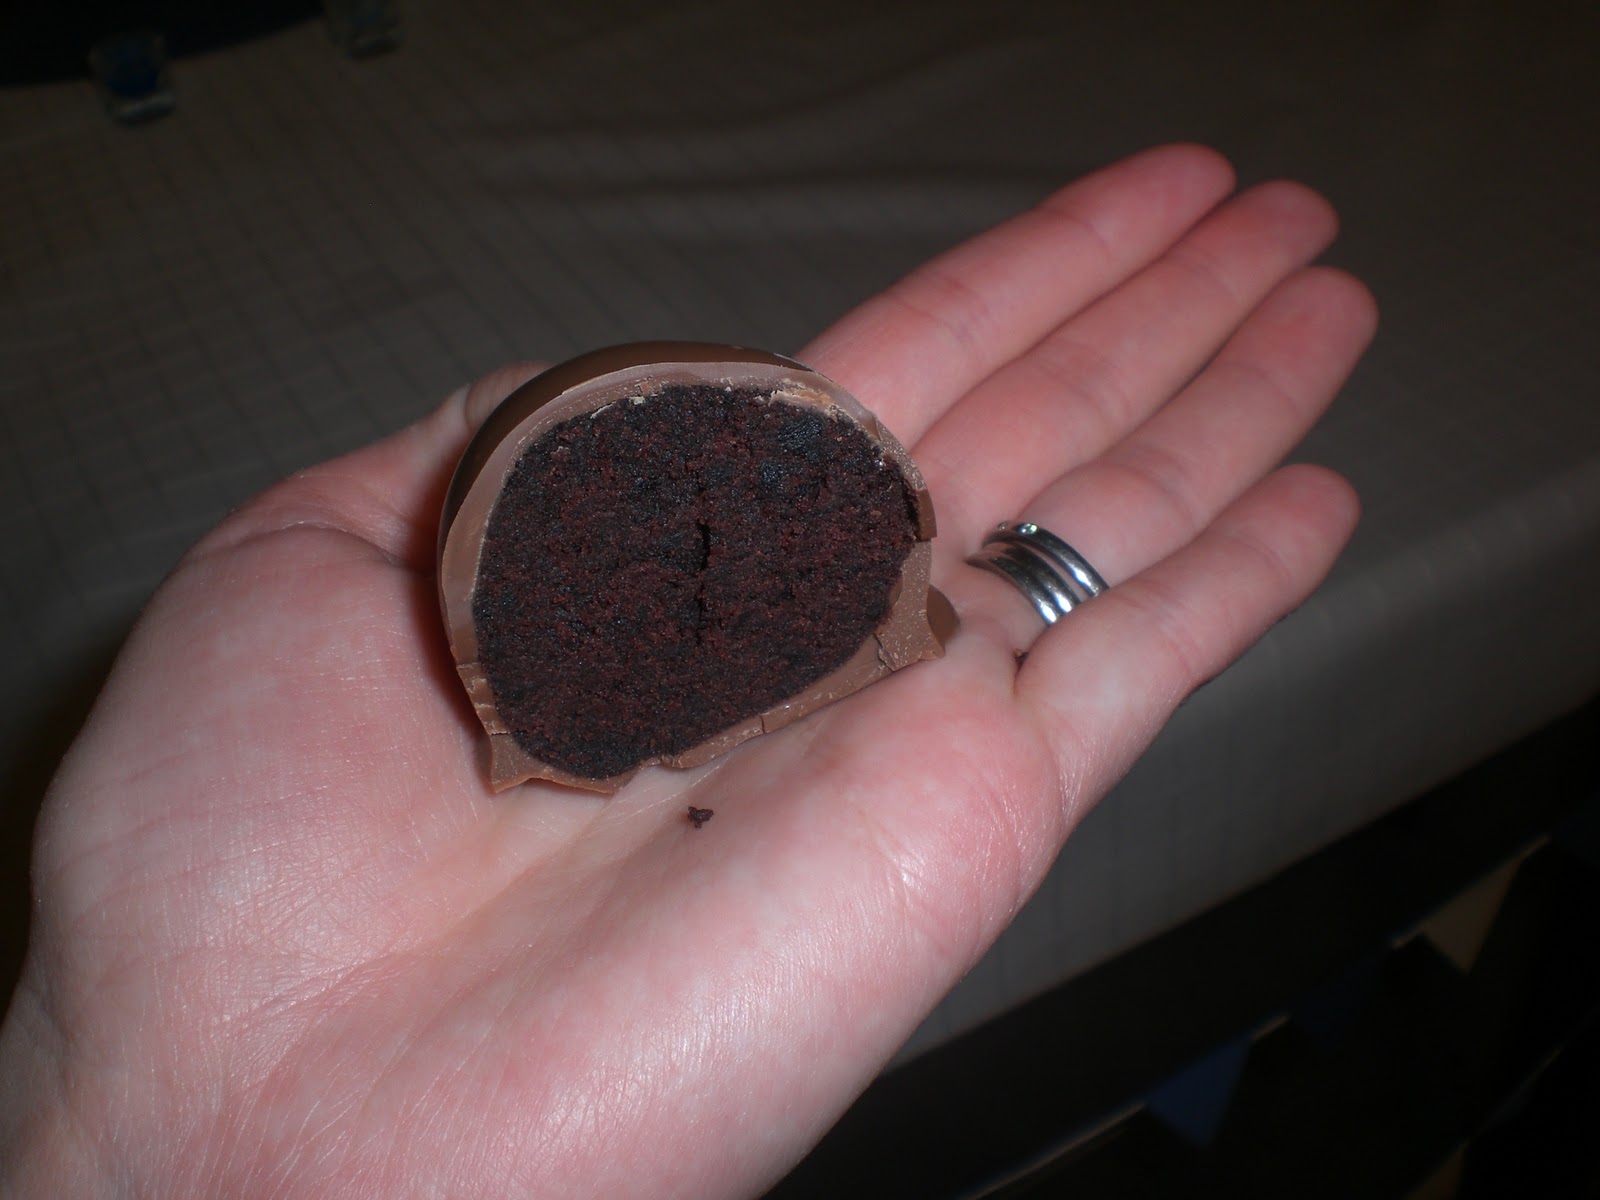
The chocolate ones were AMAZING! 
They both were amazing, but the chocolate was my favorite.


Aren't they just so adorable?!
These are SO perfect for parties, baby showers, you name it! 
I can see myself making these many more times for special occasions.


Y . U . M
It's so much fun to beautify foods!


Wall Collage part 2 FINISHED!!

Yes that's right! I have been diligently working away at my wall collage over here. All other projects and fun things, such as crocheting, have been on total pause. I was determined not to take a break from this wall collage and move onto something else. I'm SO excited to share my wall collage project now! 

Here's everything! 
{See part 1 of wall collage here}

As you can see, I finally came to a decision on what color I would paint my frames! 
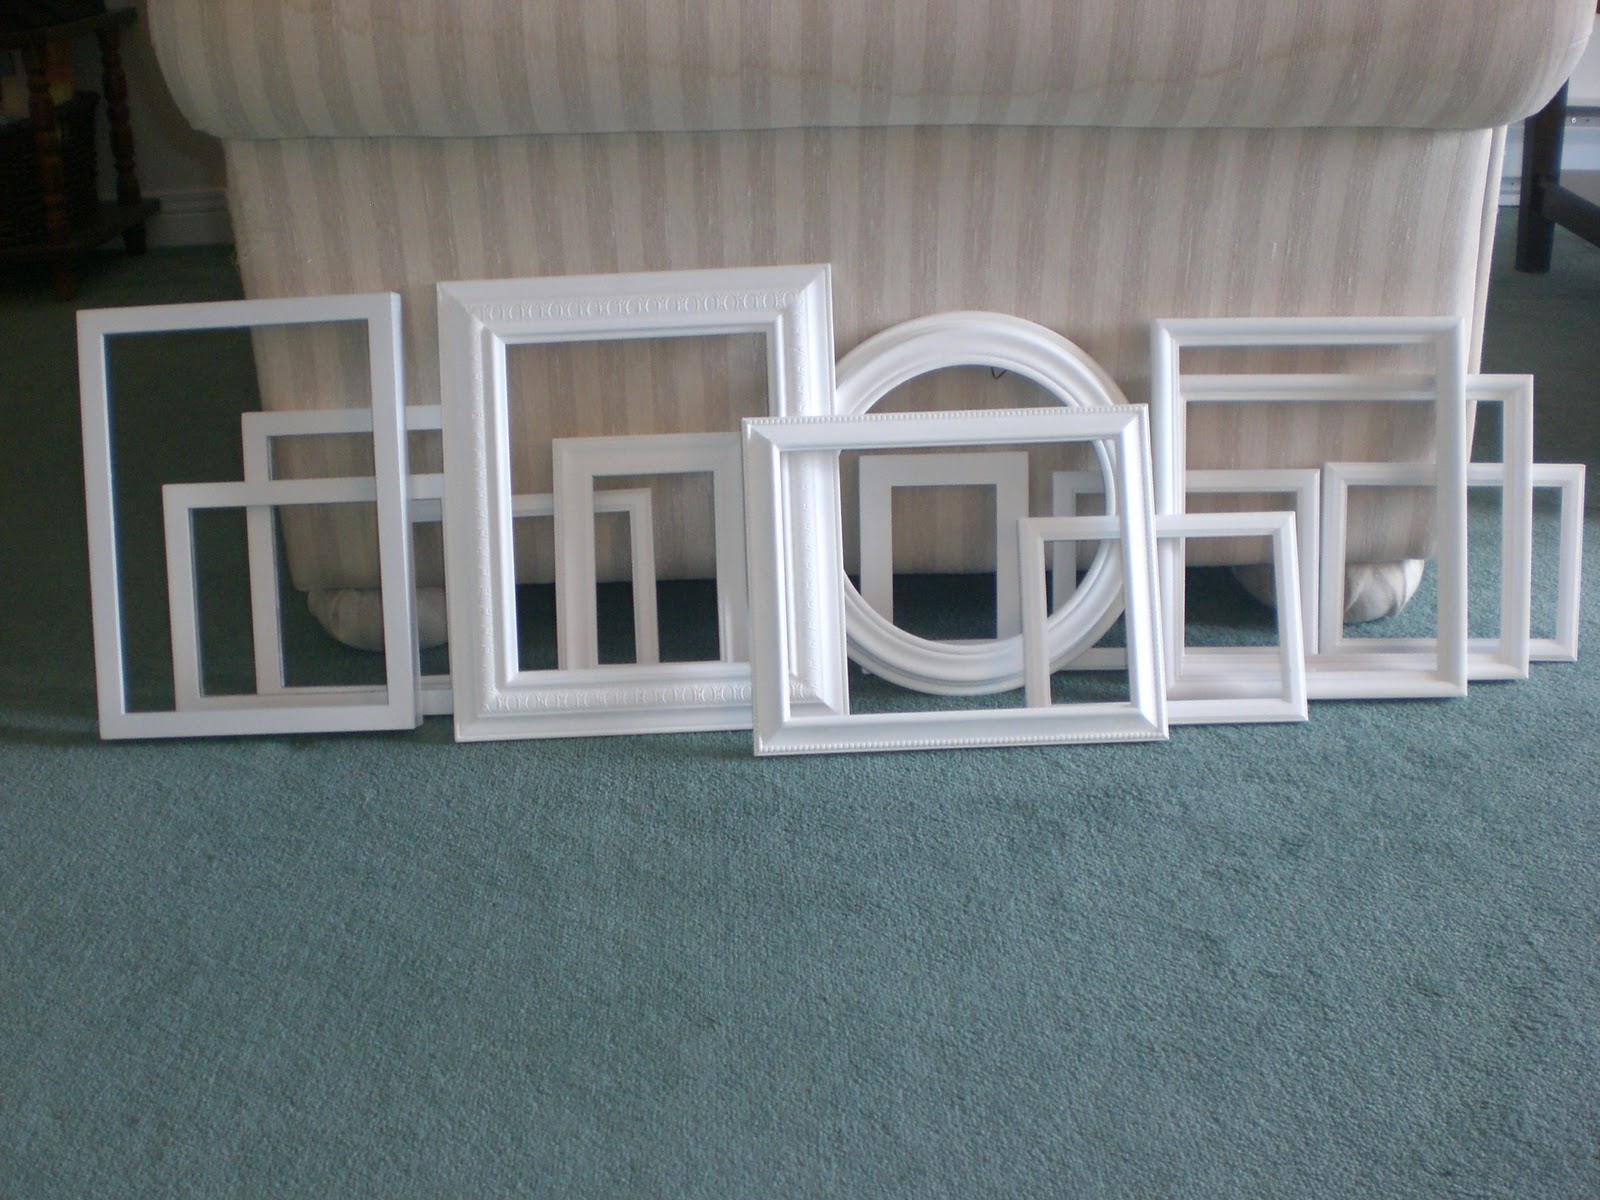
And here are all 14 of them painted.


Each frame got a little bit of sanding down, and painted with acrylic craft paint. I did have some white Krylon spray paint, but it was definitely too cold for spraying out on the balcony.. I did try it inside though! haha! Shhhh, don't tell! {I have a big old gross blanket thing that I pinned up in our storage room/closet and and did a little bit of spraying, but it did NOT turn out nice at all! I don't like that white spray paint. So using cheap dollar store sponge brushes with a large bottle of white acrylic paint was the way to go! And they turned out nice. It took SEVERAL coats to get complete coverage. I used a couple coats of polyurethane and the painting part was done! 

Then on to printing pictures and filling the frames. 
Walmart is where I print my photos. I had a few 8x10's of Hubby and me, and a really cute free print that I found on someone's blog, and I also made up a couple of my own prints on picnik. Those prints {the ones form blog and what I made} didn't print out the right color at Walmart. I was so bummed! So I asked the Hubs if he would let me buy some colored ink for our printer just for this project! They printed out in perfect color from our printer! 

I also framed fabric pieces. I already had a few of the things that I was going to frame, and just went out to purchase some mustard-ish yellow colored fabric. Walmart sells little fat quarters of fabric, and I had one already that I wanted to use, and I bought another one to fill a frame {I wanted something more black and white}. 

My round frame that I used is a little different, and it doesn't have a glass or backing. 
So this is what I did for it:
 my salad sized plate was an almost perfect fit inside the frame. so I traced it onto both sides of a pizza box and cut them out a little wider then the trace line. Taped the two together for a thicker stronger backing.
Found a bird shape online and traced it right from my computer screen to paper. Cut that out then pinned it onto white felt and cut out the design. Then I used heat and bond to secure the bird to my fabric.
Used thumb tacks to poke into the sides to hold down the cardboard since there was no backing or prongs to hold it down. 
{this is actually before all the above, I was just seeing what it would look like if I went with this idea}

And here are all my frames filled and awaiting their new home on the wall! 
I love the colors!


I forgot to take pictures of how I did big "M" monogram. I picked a font from my computer, enlarged the screen as big as I could get it and traced it right from my computer screen, lightly with a pencil of course. Then I filled it out with a pencil on my own to make it have volume and thickness and look normal, and then cut it out. Then I took a piece of black cardstock and traced that M onto it. Perfect! For the M frame I had to get another 8x10 frame just to use the glass as a backing- I wanted the M frame see through. The M fits tightly between the two pieces of glass. 


Last night I traced all my frames onto newspaper and wrote on papers which paper went to which frame. Then I turned over each frame, laid the newspaper on top of each frame and poked a whole through where the hanger was on the backs. This is for knowing where to put the nail in the wall when you put the newspapers on the wall. I arranged my newspapers on the wall, and did some arranging all night. At first I had the layout a little too bunched together, so I spread them out over the wall a little more. 

I have been SOOO nervous about actually getting everything on the wall! So Hubby put the nails in the wall for me, and I hung everything up! 

And now, here's is our new photo wall collage... 

... what we've all been waiting for.. 

.... what I have been working on for these past few weeks .... 

... hehe, here it is folks! .....


I couldn't stop squealing with happiness after seeing it all on the wall! It actually turned out as beautiful as I have imagined, and the plans that I made up on the word documents! Yes, I'm calling my own project beautiful.. I'm not boasting or being prideful, just so excited that I was able to put together something this nice looking for our home. Photos of the collage just don't do it justice. It looks so much nicer in person. And it doesn't look like a little pile of pictures on the wall in person either. Our living room is small.

I love it.

My new RED coat!

Sunday, April 3, 2011

I've always loved and wanted a red coat... always swooned over them as I passed by them in stores. Last month Hubby and I were at the mall checking out some things, and as we were on our way out I spotted IT! It was outside the little store on a rack with a 50% off sign. "LOOK!" I shouted and pointed. I tried it on, and guess what? Yes, I fell in love :) I didn't want to take it off {aka it screamed "take me home!".. just to clarify}. So I bought it- for $30!! For Christmas I was given a gift card for the mall from the people I babysit for, and I had some other gifted cash on me as well, so it was pretty much free! I'm not really sure what you call the type of material it is, but it's not a peacoat type, it's more like a lighter spring (here in Canada) or fall coat. It's still cold here in New Brunswick so I was able to wear my new red coat to church today. Perfect day for it too! It wasn't FREEZING, but just cold enough. 

I LOVE IT!
.. the coat, not the weather..

We tried taking nice photos of it outside, but they aren't that great.. 


.. not impressed with the photos.. or more like not impressed with my poses, and "the-sun-is-in-my-eyes" face. 
Maybe I'll update with some betters photos. 

Anyway, my new red coat. I like it :)


Adorable printables- freebies!

Hey, check out what I came across this afternoon! 
At Sprik Space. I found a bunch of really cute 5x7 and 8x10 prints that you can download for free!  Here are some that I saved to my computer:


There are tons more and you can get them in different colors too! 
So go check it out!

.. I really wish we had colored ink right now! I think I'll get some soon just for things like this! ;) 

Enjoy!

Thanks Sprik Space!!


Dresser as kitchen island

Saturday, April 2, 2011

Lately I've really been thinking about how I would LOVE to redo a dresser and put it in our kitchen for an island. I told my Hubby about this idea and he thought it was a neat one too! We have the space and it would be really nice to have an extra spot for cutting and food prepping. It would be perfect, since we live in an apartment, and it wouldn't be a permanent change to the place.

This is our kitchen


Here are some ideas I found and I like the idea more and more! 


My favorite one is the top blue one. I just love how the sides can be used for hanging utensils, paper towel racks, and other things! If you click the link for the top blue dresser, you'll see that they used the space for putting a large chalk board up- ingenious! I would like to cover the top of the dresser with butcher block or something that can be used for cutting on.

 I am so inspired now! 
This is definitely on my "to do" list.