I meant to post photos from our Gender Reveal party months and months ago, and I just remembered!
We had planned to do the party at a really pretty park in town, but the weather just didn't cooperate with us, so we set it up downstairs in our church dining room.
So here are all the lovely pictures from our party that day! ... Beware- LOTS of photos! : )
First, here are the invitations that I created on Picmonkey.com. I found my inspiration while browsing through Pinterest. I was able to find clip art on Google to save and insert to Picmonkey.
 {obviously we weren't able to do the party at the park.. bummer}
First, here are the invitations that I created on Picmonkey.com. I found my inspiration while browsing through Pinterest. I was able to find clip art on Google to save and insert to Picmonkey.

I planned and prepared pretty much everything for the party myself. Of course I got many of my ideas from Pinterest! Like the banner over the food table. That idea came from this banner, which is originally found on Etsy. I didn't have any burlap material, but I had some tan-ish fabric. I hand painted each of the letters and hearts, then hot glued the triangles to a ling of twine. I LOVE how it turned out!

I really enjoy when I'm able to put together a special party and I have SO. MUCH. FUN with all the little details! I'm totally a "detail" person when it comes to planning these kinds of things!

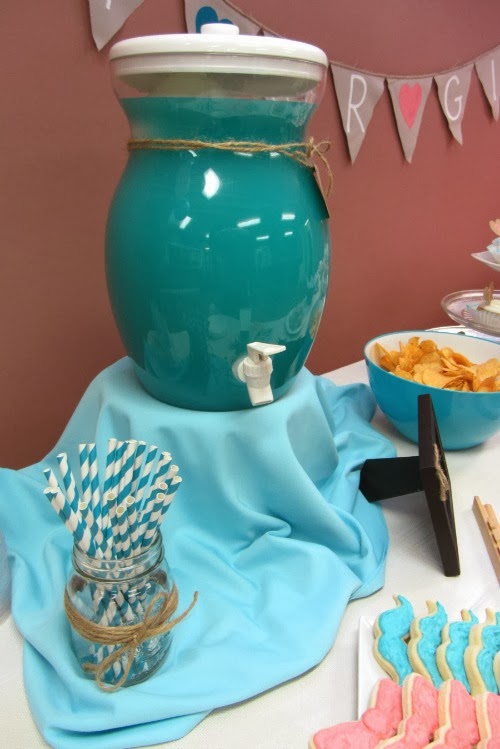
For the drinks I just bought a big container of powered lemonade and added Koolaid packets to make the colors blue and pink. Blue raspberry Koolaid and Cherry Koolaid. The blue needed a little help, so we added some blue food coloring. I made labels for the drink dispensers with kraft paper and twine.

To raise the drink dispensers, I brought my two largest pots from home and turned them upside down to make little stands and covered them with fabric. I had the pink and blue fabric already in my fabric stash, so that worked out perfect!
The little heart banner is made from kraft paper and my super cool paper heart punch!

I kept the food and treats pretty simple so I wouldn't be overwhelming myself with all the prepping.


Pink Bow and Blue Mustache sugar cookies!
I bought the mustache cookie cutter from Etsy and the bow cookie cutter came from Ebay.
I made the sugar cookies a couple weeks before the party and just froze them until the day before the party so I could frost them. Normally I use royal icing, but I decided to try a butter cream frosting this time and I am SO glad I did! It was SO much better than royal icing could EVER be! I will never make sugar cookies with royal icing again, they were soooo delicious! I just colored the butter cream frosting with food coloring.

Aren't they just ADORABLE?!

Rice Krispie treats dipped in pink and blue colored chocolate

Mini pretzels dipped in blue and pink chocolate

CUPCAKES!!!
Okay, these were not anything special. I wanted to use cupcakes as our way to reveal the gender. I didn't make them, but I supplied everything to this local teenage girl I found through our online classifieds in town. I paid her to make our cupcakes and insert the color (pink or blue) into the middle of the cupcakes and then frost them. I have this little cupcake corer thing I got from Ebay that worked perfect. When I went to pick the cupcakes up from her she had turned my white top frosting green and yellow!!! AAHH! So being the picky person I am, I went home and as carefully as I could, I scraped off the yellow and green and refrosted most of the cupcakes. I just did enough to look good on the table, and brought the rest of the yellow and green ones in case we ran out.

I made my own cupcakes toppers using my heart punch, craft paint, and toothpicks.
I got the idea to dye the edges of the cupcake liners from this post.

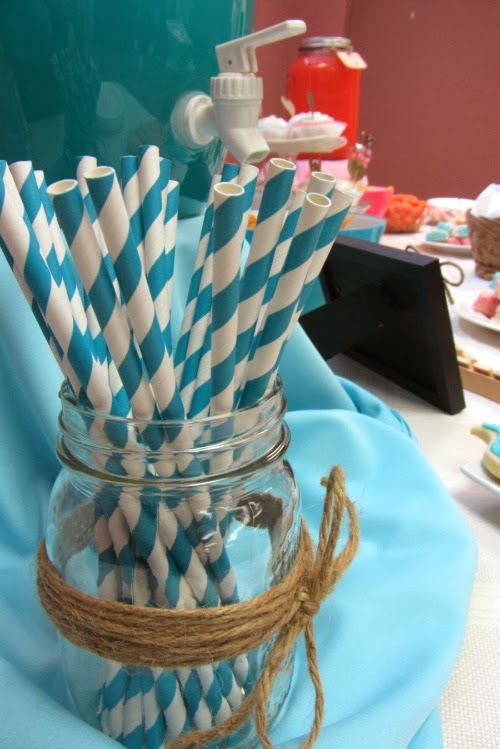
Pretty blue and pink striped paper straws from Etsy.
I love Mason jars, so of course I decorated some with twine to hold the straws.
Baby's ultrasound photo framed was a nice decoration for the table! And of course I love adding some cuteness with Scrabble tiles : )

Everybody got to wear a felt pin to show their vote. Pink bows and black mustaches. I got my inspiration to make them from here!
The chalkboard is just some cardboard painted with chalkboard paint. And I found the little boy and girl clip art from searching Google. I fell in love with the framed little boy and girl clip art idea after seeing this gender reveal party.

We gave an "Old Wive's Tale" quiz before finding out the gender. You can find the printable quiz here.
After we gave the quiz and the answers, I went through the list and told which ones applied to me.. just for fun in case that changed anyone's vote!

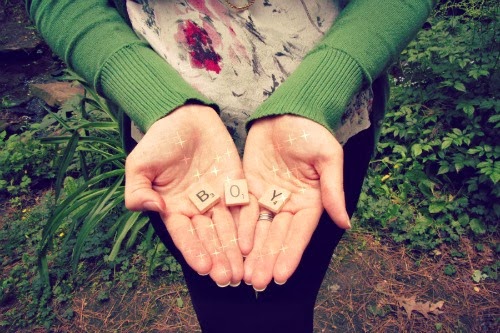
We also took some team pictures with signs I made before finding out the gender.
I had been thinking "boy" for quite a while ..

Hubby had been thinking "girl" ..

But I was right!! : )
B. O. Y !

Such a fun party! Loved it!

Check out my "Gender Reveal Ideas" board on Pinterest for more fun ideas!
Also, come check me out on my other blog, Bumping into Style, where I share my maternity outfit endeavors (or "attempts" .. ) and little tid bits of my pregnancy progress! I am currently in week 34!